The difference between a “budget” typing experience and a premium custom build often comes down to the stabilizers.
Stabilizers are the mechanical parts that support larger keys like the Spacebar and Shift keys.
If they are not tuned correctly, these keys will rattle, tick, or feel “mushy” when pressed.
Screw-in stabilizers are considered the gold standard because they offer the most secure connection to the PCB.
This guide provides a professional framework for preparing, lubing, and installing screw-in stabilizers for maximum acoustic performance.
Why Screw-In Stabilizers Are the Professional Choice
Most mass-produced keyboards use “snap-in” stabilizers that clip into the plate.
These often have a loose fit, which creates physical vibration and unwanted noise.
Screw-in stabilizers use a threaded nut or screw to lock the housing directly to the PCB.
This creates a rigid foundation that eliminates housing wobble entirely.
By removing this variable, you can focus your tuning entirely on the internal wire and stem interaction.
Read Also: The Best Budget Mechanical Keyboards for Modding
Essential Tools for Stabilizer Tuning
Before you begin, gather the following technical supplies.
- Dielectric Grease: Used for the ends of the metal wires to stop rattling.
- Krytox 205g0: A thinner grease used for the internal plastic sliders.
- Precision Screwdriver: Required for the small mounting screws.
- Fine Tipped Brush: For applying the lubricant with high accuracy.
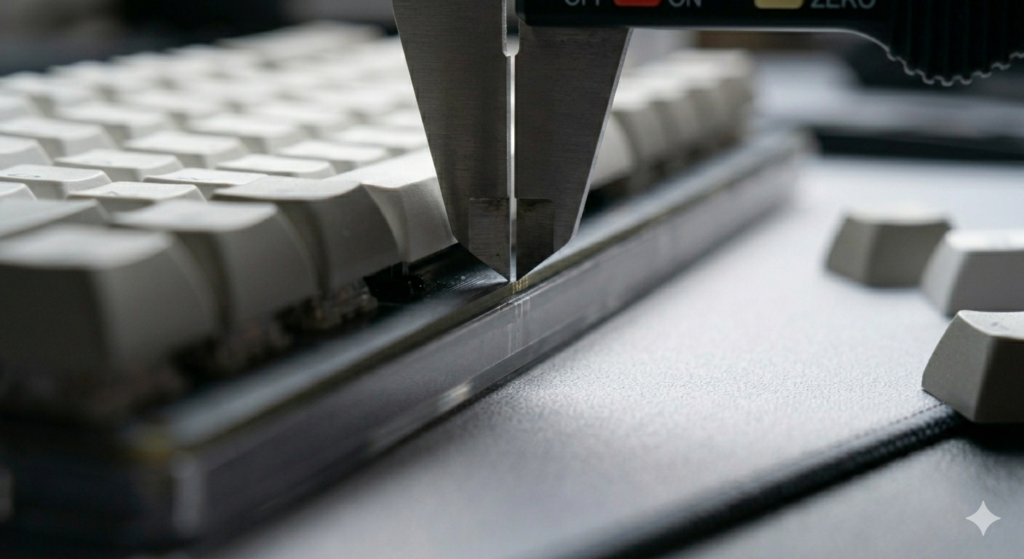
- Flat Surface (Glass or Mirror): Crucial for testing if the wires are perfectly straight.
Phase 1: Preparing the Stabilizer Wires
The most common cause of a “ticking” spacebar is a bent metal wire.
Even high-end stabilizers can arrive with wires that are slightly warped from the factory.
Place your wire on a perfectly flat glass surface.
Tap each end of the wire with your finger.
If you hear a clicking sound or see the wire move, it is not flat.
Gently use two pairs of pliers to tweak the wire until it sits perfectly still on the glass.
Phase 2: Lubing the Housings and Stems
Lubrication is a balancing act of reducing friction without making the key feel slow.
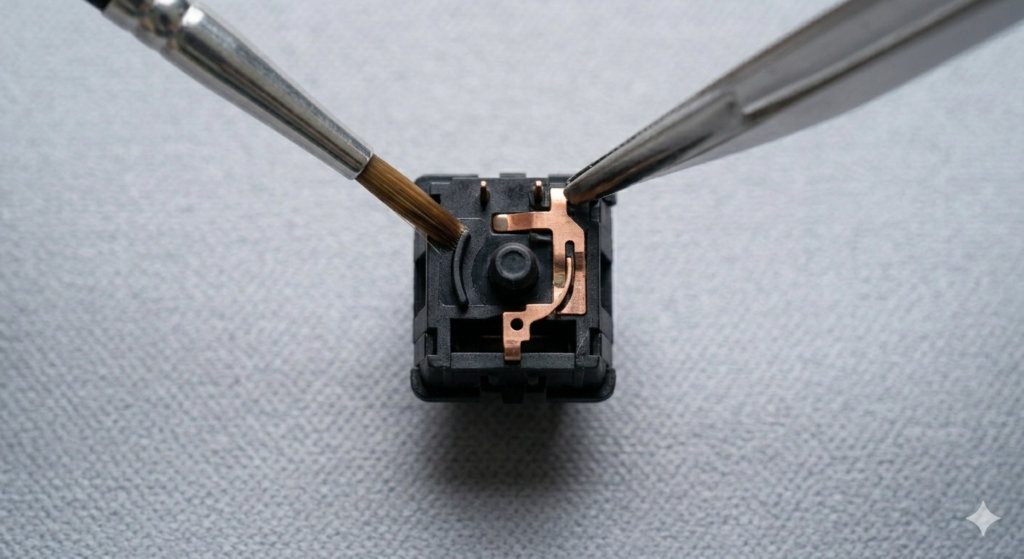
Dip your brush into a small amount of Krytox 205g0.
Apply a very thin, translucent layer to the four flat sides of the stabilizer stem.
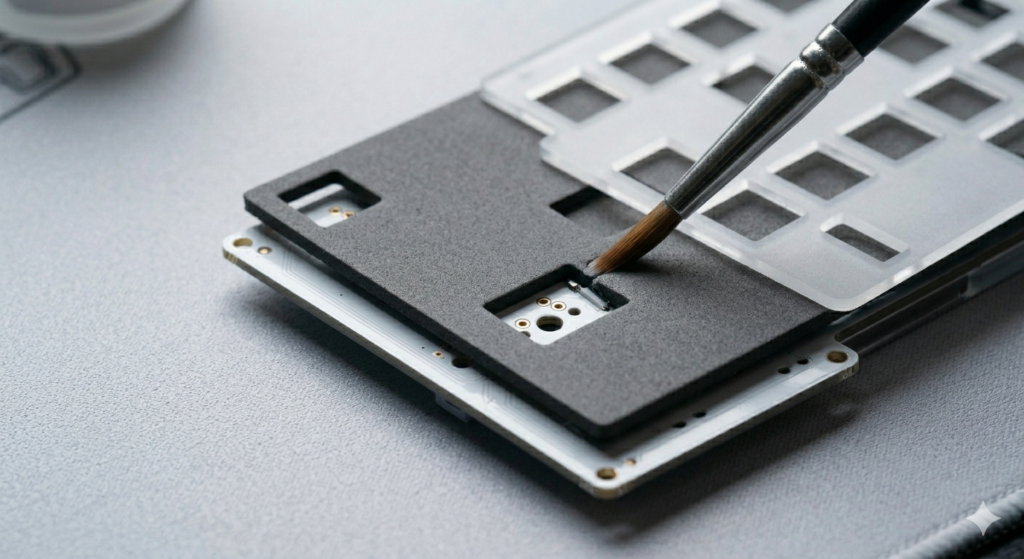
Next, apply a small amount to the internal tracks of the stabilizer housing.
The goal is to eliminate the plastic-on-plastic scratchiness.
If the grease looks white or thick on the plastic, you have used too much.
Phase 3: The Wire and Grease Interaction
This is where the “thock” sound is created.
Dip the end of the metal wire into your dielectric grease.
You want to cover the part of the wire that will sit inside the stem.
This thick grease acts as a cushion, preventing the metal wire from striking the plastic housing.
Slide the wire into the bottom hole of the stem and clip it into the housing.
Phase 4: Installation onto the PCB
Now you are ready to mount the assembly to your Printed Circuit Board.
Ensure your PCB is clean and free of dust or stray lubricant.
Place the stabilizer into the dedicated holes on the PCB.
Flip the board over and insert the small washers and screws.
Tighten the screws until they are firm, but do not over-tighten them.
Over-tightening can crack the PCB or strip the plastic threads of the stabilizer.
Read Also: The Ultimate Guide to Keyboard Case Materials
Common Troubleshooting and Fixes
If a key feels “mushy” after installation, you likely used too much dielectric grease.
This creates a vacuum seal that slows down the return of the keycap.
If the key still rattles, the wire might have become unclipped during installation.
Use a pair of tweezers to ensure the wire is firmly snapped into the housing clips.
Check that the keycap itself is not warped, as a bent keycap can mimic stabilizer rattle.
Conclusion
Mastering the installation of screw-in stabilizers is a major milestone in keyboard modding.
It requires patience, precision, and a technical understanding of how different materials interact.
By flattening your wires and applying lubricant with a surgical touch, you eliminate the most common flaws in mechanical keyboards.
The result is a Spacebar that sounds deep, solid, and premium.
Take your time with each assembly, test them before soldering, and enjoy the silence.